Your First Quantization
Enough theory — let's learn how quantization is actually performed! In the previous lesson, we learned about using the Hugging Face transformers library to load PyTorch implementations and weights for virtually any open-source LLM. We also learned about Hugging Face's peft library to attach LoRA to the PyTorch model.
In this section, we're going to use a similar approach with the bitsandbytes library, which provides a simple API to quantize PyTorch models. As we'll see, bitsandbytes is simply one specific implementation of the quantization strategies that we learned about earlier, and there exist many other implementations and formats that we'll take a look at.
Intro to bitsandbytes
bitsandbytes is a popular quantization library that is designed to generate quantized versions of existing PyTorch models. It implements an algorithm for dynamic quantization based on the LLM.int8() paper, in which most of the model is quantized to int8 but critical outlier values remain in the higher-precision float16. The Hugging Face blog has a great post on how this works under the hood.
Another key feature of bitsandbytes is that it supports k-bit quantization, meaning it can perform dynamic quantization for several different bit widths (although 8-bit and 4-bit are the most common). On top of this, it uses block-wise quantization as we learned about earlier, which means that the quantized models are highly accurate but will use a bit of additional memory due to the extra quantization parameters.
Before moving on, let's make sure that all the necessary Python packages we'll be using are correctly installed. Setup a virtual environment and install the following packages:
pip transformers torch bitsandbytes accelerate optimum
Loading the Model
Let's start by loading the model and tokenizer for Meta AI's Open Pre-Trained Transformer (OPT) using the transformers library. Specifically, we will use the version with 350M parameters called OPT-350M. This is a fairly small LLM, especially when compared to other "small" models like Llama 2 7B.
As we saw in the last lesson, the AutoModelForCausalLM and AutoTokenizer classes will automatically choose the correct PyTorch implementation for our model choice and download the weights from the Hugging Face model hub. In this case, AutoModelForCausalLM will resolve to an instance of OPTForCausalLM, which is a task-specific subclass of OPTModel for causal language modeling.
from transformers import AutoModelForCausalLM, AutoTokenizer

model = AutoModelForCausalLM.from_pretrained("facebook/opt-350m")
tokenizer = AutoTokenizer.from_pretrained("facebook/opt-350m")
Let's then define a utility function that will calculate a model's memory footprint and print it out in GB. This will be useful for comparing the memory usage of the float32 and various different quantized models.
To do this, we will iterate over every single parameter matrix in the model using the built-in model.parameters() and calculate its size by multiplying the number of elements in each matrix by the size of each element in bytes (4 bytes for float32). This gives us a figure total_bytes which represents the total memory consumption of the model in bytes. We then divide this by 1024^3 to convert it to GB and round to three decimal places.
def calculate_model_size(model) -> float:
    total_bytes = sum(
        p.numel() * p.element_size()
        for p in model.parameters()
    )

	return round(total_bytes / 1024 ** 3, 3)

print(f'float32 model: {calculate_model_size(model)} GB')
float32 model: 1.234 GB
When we call calculate_model_size on the original float32 version of OPT-350M, we find that the model consumes around 1.234GB of memory. In practice, this is more than small enough to fit within the VRAM of most GPUs (even commodity GPUs have between 8 and 24GB of VRAM), but let's see how much we can further reduce this by quantizing the model.
Quantizing the Model
Now, let's quantize the model to float16 using the built-in half() function in PyTorch (recall that this isn't really quantization but it's a good starting point). Since we're using half-precision floating points, we'd expect the memory consumption to be halved as well. Let's run the calculate_model_size function on the float16 model:
model = model.half()
print('float16 model:', calculate_model_size(model))
float16 model: 0.617 GB
Sure enough, we get exactly half the memory consumption at 0.617GB. This is a great result, but we can go even further by quantizing the model to int8.
One of the big benefits of bitsandbytes as an option for quantizing LLMs is that it's tightly integrated with Hugging Face transformers. If you have the bitsandbytes package installed, transformers will automatically expose a convenient config class called BitsAndBytesConfig. When you pass this config to the same from_pretrained method that we used earlier, Hugging Face will simultaneously load and quantize the model using the bitsandbytes dynamic quantization algorithm.
The absolute simplest way to use this class is to set the argument load_in_8bit to True, but there are many other arguments that you can play around with. When we pass our quantization config into from_pretrained, the model weights will be loaded (they should be cached locally from last time) and immediately quantized to int8. Note that this process occurs entirely on the fly without any calibration necessary since bitsandbytes uses a dynamic quantization method. Now, if you print out the model with print(model), you'll notice that the Linear layers have all been replaced with Linear8bitLt layers from the bitsandbytes library.
quantization_config = BitsAndBytesConfig(load_in_8bit=True)

model = AutoModelForCausalLM.from_pretrained(
	"facebook/opt-350m",
	quantization_config=quantization_config
)

print('int8 model:', calculate_model_size(model))
int8 model: 0.335 GB
As expected, we've halved the memory footprint again. We're now down to 335MB from the original 1.234GB! Let's do one more halving by quantizing the model to int4 using the load_in_4bit argument in our quantization config:
quantization_config = BitsAndBytesConfig(load_in_4bit=True)

model = AutoModelForCausalLM.from_pretrained(
	"facebook/opt-350m",
	quantization_config=quantization_config
)

print('int4 model:', calculate_model_size(model))
int4 model: 0.194 GB
There you have it — just under 200MB for our int4 quantized model. This represents a massive 85% reduction in memory consumption from the original float32 model. The best part is that the steps to run inference on these quantized models are identical to float32 models.
"""
Here, we take a prompt and tokenize it using the model's tokenizer. This will translate the prompt into discrete tokens from the model's vocabulary. The `to("cuda")` call moves the PyTorch tensors with the tokenized inputs to GPU memory where the model is stored.
"""
text = "The meaning of life is"
inputs = tokenizer(text, return_tensors="pt").to("cuda")

"""
We then run `model.generate` with our quantized model and the tokenized inputs. Since the model will produce a sequence of tokens up to a maximum length of 256, we can decode the output tokens back into human-readable text using the tokenizer's `decode` method.
"""
outputs = model.generate(**inputs, max_new_tokens=32)
print(tokenizer.decode(outputs[0], skip_special_tokens=True))
The meaning of life is to be alive.
Note that models quantized with bitsandbytes are only meant to run on the GPU. As a result, when from_pretrained detects a bitsandbytes quantization config on the model, it will immediately load it into GPU memory instead of the default CPU memory. There's no need to call to("cuda") or cuda() on the model to manually move it to the GPU. Also, if you try to move the model to CPU memory, you'll get an error. Later, we'll take a look at quantization formats that can run on both CPUs and GPUs.
Saving Quantized Models
The final step is to save our quantized model. This is a hugely important step as it allows us (and others) to load a pre-quantized version of the model in the future, saving us the time and resources needed to download the unquantized weights and quantize them on the fly. We'll touch heavily on this general idea in the next section.
Saving to Disk
As we've seen, Hugging Face's AutoModelForCausalLM.from_pretrained() method returns a PyTorch implementation of the requested model. To make our lives easier, Hugging Face includes several convenience methods on these PyTorch models. One such function that we've used extensively is model.generate(), which in our case performs the causal language modeling task of iteratively generating the next token until max_new_tokens or the EOS (end of sequence) token is reached.
Another convenient function is model.save_pretrained(), which allows us to save the quantized model to disk. Using it is as simple as passing in a target directory path:
model.save_pretrained("opt-350m-int8-bitsandbytes")
This will create a directory called opt-350m-int8-bitsandbytes with three files: a model.bin file containing the pickled model parameters, a config.json with the initialization config (including the bitsandbytes config in our case), and a generation_config.json with information on the model's generation settings (e.g. special tokens).
One issue with this approach is that the serialization library that it uses, called pickle, is fundamentally unsafe as it lets you run arbitrary code when deserializing. There are many other formats like h5 and SavedModel that have their own downsides as well. To answer the call for a safer serialization format, Hugging Face has recently developed a new library called safetensors that is designed to be safe, efficient, and flexible. This new library is quickly becoming the default across the Hugging Face ecosystem.
To use safetensors instead of pickle, simply call the save_pretrained method like we did above but with the safe_serialization argument set to True:
model.save_pretrained("opt-350m-int8-bitsandbytes", safe_serialization=True)
This will generate a model.safetensors file instead of the .bin file. Then, loading the local model files is as simple as loading models from the Hugging Face hub! The load_pretrained method will automatically detect the serialization format and that the model lives on disk rather than in the Hugging Face hub:
model = AutoModelForCausalLM.load_pretrained("opt-350m-int8-bitsandbytes")
Saving to Hugging Face
There's one more cool thing you can do here and that is to upload your quantized model to the Hugging Face model hub! First, sign up for a Hugging Face account and then authenticate your account with the CLI if developing locally or with notebook_login if using a notebook environment. Then, you can use the push_to_hub method to upload your model to the hub:
quantized_model.push_to_hub(
	repo_id='alexlangshur/opt-350m-int8-bitsandbytes',
	revision='main',
	private=True,
	safe_serialization=True
)
This will create a new private model repository in your Hugging Face account and upload the quantized model files to it under the main revision. Revisions in Hugging Face are analogous to branches in Git repositories and will default to main if not specified. The safe_serialization argument will ensure that the model is serialized using safetensors rather than pickle.
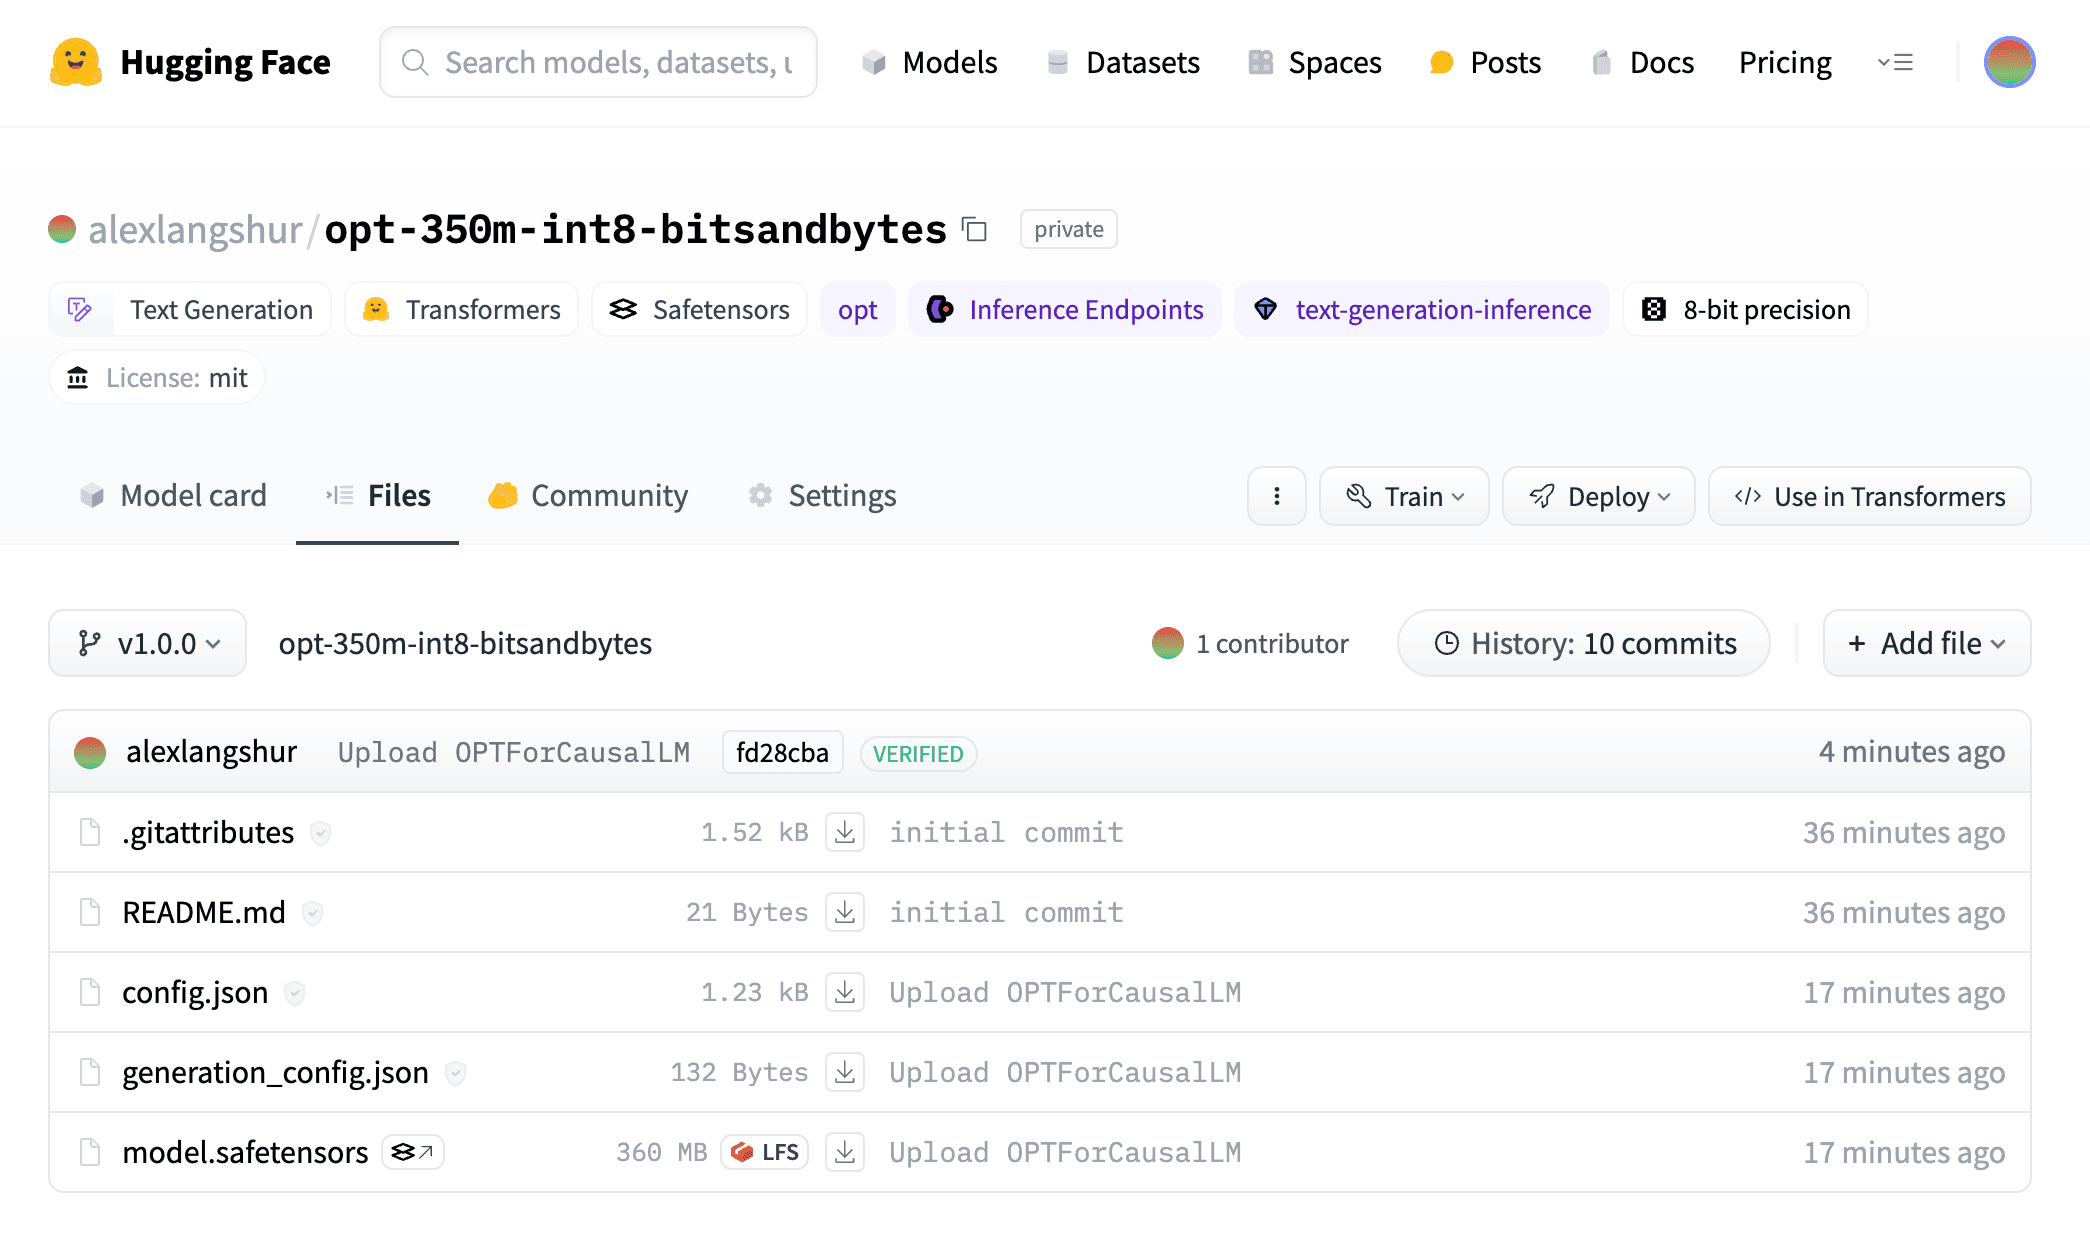
When the upload is complete, the repo will include a model.safetensors file with the quantized weights, a config.json file with the model's configuration (and the quantization config!), and a generation_config.json file with the model's generation settings (for running model.generate). If other users were to download and use this model, transformers would use the config.json to detect that the model is quantized and automatically load it as such with the bitsandbytes backend, avoiding the need to quantize the model on the fly as we did earlier.
To make this model repo even easier to use, we can also upload the tokenizer! This will allow others to effortlessly download the model and tokenizer from the same location, which is a big win for usability. To do this, simply call the push_to_hub method on the tokenizer and pass in the same repo ID and revision:
tokenizer.push_to_hub(
	repo_id='alexlangshur/opt-350m-int8-bitsandbytes',
	revision='main',
)
The repo will now receive a couple additional files, including a tokenizer.model file with the tokenizer's vocabulary and several configuration files. You can now load both the pre-quantized model and its tokenizer from the hub with the from_pretrained method:
model = AutoModelForCausalLM.from_pretrained("alexlangshur/opt-350m-int8-bitsandbytes")
tokenizer = AutoTokenizer.from_pretrained("alexlangshur/opt-350m-int8-bitsandbytes")
The finishing touch is to add a model card to the repo by uploading a README.md file. The model card will be the first thing that users see when they visit the repo and typically contain a description of the model, instructions for how to use it, and any other relevant information. Then, head to the repository to check out the final product!